
How a Simple Moodboard Could Save You Thousands on Your Home Makeover

Share

In a time where interior designers can set you back anywhere from £25,000-£60,000+ [1], homeowners are seeking ways of designing and decorating their homes themselves. In the last three months, Google searches for ‘home moodboard’ have skyrocketed by +1366%, whilst ‘how to moodboard’ have increased by +122%.
Amidst the self-interior design boom, Heal’s spoke to 31-year-old TikTok creator Gemma Ellis from South Yorkshire, who has managed to save herself thousands of pounds by creating mood boards and being her own interior designer.
“It definitely saves lots of money”
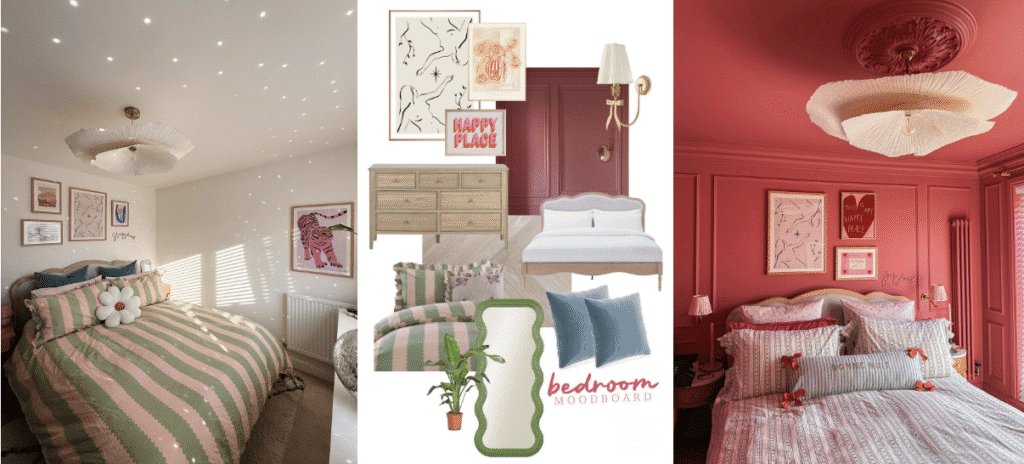
Gemma has transformed multiple rooms in her home by laying out her visions before picking up the paintbrush. She told Heal’s, “I find moodboards help me get a good idea of what colours and décor will work well together, as well as bring the ideas in my head to life. A renovation can take such a long time to complete, and I like seeing the visuals beforehand to make sure my ideas are going to work well. They do also help with organisation in terms of knowing which bits need to be bought, and if I’m working to a budget, they definitely help keep things on track! I would always recommend anyone to create moodboards, it definitely saves lots of money on getting someone to do it for you.”
Moodboards inspired Gemma to be more creative
Moodboards are a great way to play with ideas and get creative with the way in which you tackle interior projects. Gemma explained how using moodboards changed the way she approaches home design and renovation projects, “I would say they inspired me to get more creative and go outside of my comfort zone. I’ve been creating content for a long time, and my interior style used to be so bland and boring. I only started creating moodboards once I moved into my current home a little over two years ago, and this house is by far the most colourful and creative home I’ve lived in. I love it so much!”
Gemma went on to explain how moodboards helped when making the nitty gritty choices such as colours, materials and furniture. “I would Google paint options and add them to the moodboard and then see if they worked with current furniture pieces and décor that was already in that room, or ones that I had my eye on buying. I would then keep bringing in different items until I was happy with the overall look of the moodboard.”

The design process starts with finding inspiration
It seems that creating your own moodboards is more accessible to people than they might think, as Gemma reveals her design process.
“I always create my moodboards in Photoshop. There are plenty of apps and things that you can use to make them on, I think you can even make them on Pinterest, but I’m familiar with Photoshop, so I find that the easiest method. I studied Graphic Design at University, so that’s just what feels most comfortable to me.
I usually start by browsing social media, Pinterest, etc, find homes that I love the look of, and often start pinning things to a board to get a good idea of what I like.
I love Pinterest the most. I love that it pulls together all the kinds of content that you love, and it’s so easy to scroll through and compile lots of inspiring images. I follow lots of lovely home accounts on Instagram and TikTok too, and I love saving videos of rooms I admire. I tend to like the more cosy homes by regular everyday creators rather than ones by designers that don’t feel as homely.
I’ll then browse for any furniture or paint colours I need or like and then start putting my moodboard together.”
Gemma continues, “I would say it [the design process] normally takes a week or two, it really depends on how decisive I am. Sometimes I spend ages making final decisions, and other times I just know exactly what I want.”
Gemma shares her number one tip!
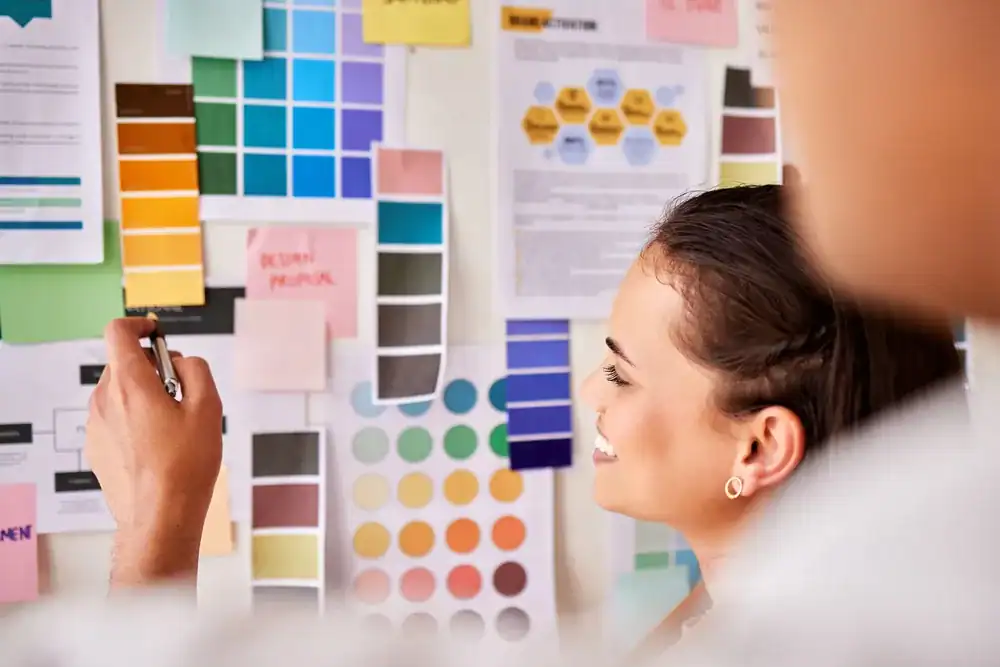
When starting your moodboard, Gemma has one important piece of advice: “I would recommend deciding on a paint colour or an item of furniture, such as a bed or a sofa, before starting the moodboard so that you have something to build it around. Otherwise, you’re starting from nothing, and it can be harder to bring a vision to life.
When creating my bedroom moodboard, I designed it around a deep pink paint colour as I knew I wanted to colour-drench the room in a bold paint!”
Despite meticulous planning, changes were still made once the decorating commenced. Gemma explains how the moodboards can be flexible if things don’t work out exactly as you’d planned:
“I think they [the rooms] turned out just like the moodboards, surprisingly! I would say there were only very minor differences, like when I decided to swap out some prints.
On my bedroom moodboard, I had to send back the lights that I’d included on it [the moodboard] as there were elements on them that just didn’t work with the wall panelling, once that was complete, which is something that couldn’t have been foreseen.”
Even with the changes, Gemma’s room still aligned with the moodboard, and the transformation speaks for itself!
“I honestly don’t think I would ever design a room without a moodboard now”
From Gemma’s transformations alone, it is clear that creating your own moodboards for any interior changes or renovations is an option that is affordable, accessible and achievable for anyone.
“I honestly don’t think I would ever design a room without a moodboard now, they’re so helpful in seeing ideas come to life and working out if colours and pieces go together or not. It also makes a renovation so much more exciting.”
Opting to design and create moodboards herself, as opposed to paying a professional interior designer, has given Gemma a real confidence boost that she will continue to use as she completes her home. She explains, “I would say that I’ve learned to be more creative and bolder with my design choices. Sometimes, I second-guess my decisions, but moodboards have helped me feel much more confident in being more creative with my home.”
When Should I Put My Christmas Tree Up? New Research Reveals UK Trends

